")
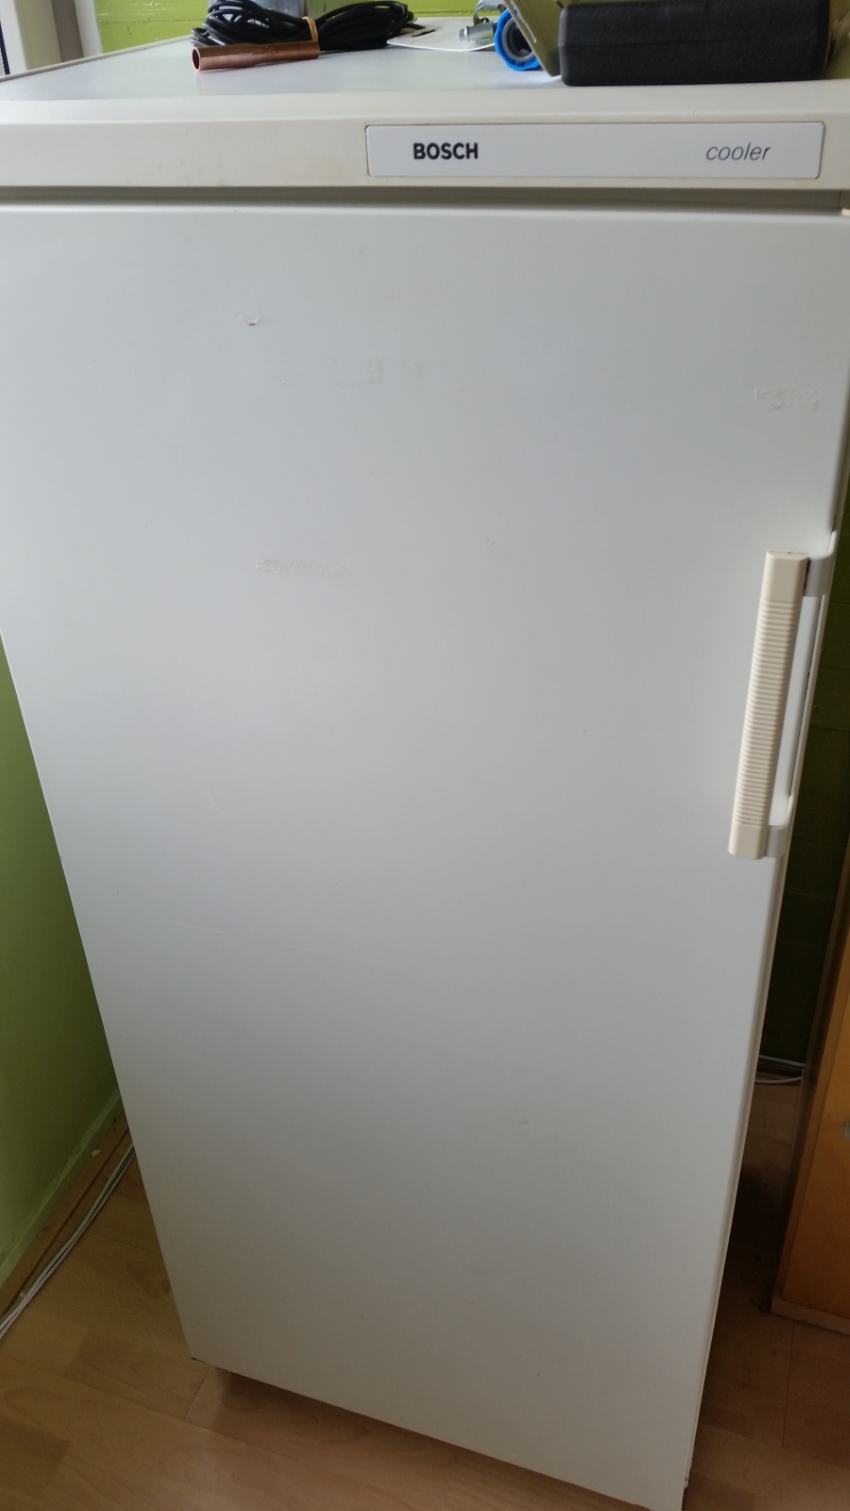
After purchasing the refrigerator and receiving the Brewpi we started by stripping the fridge.
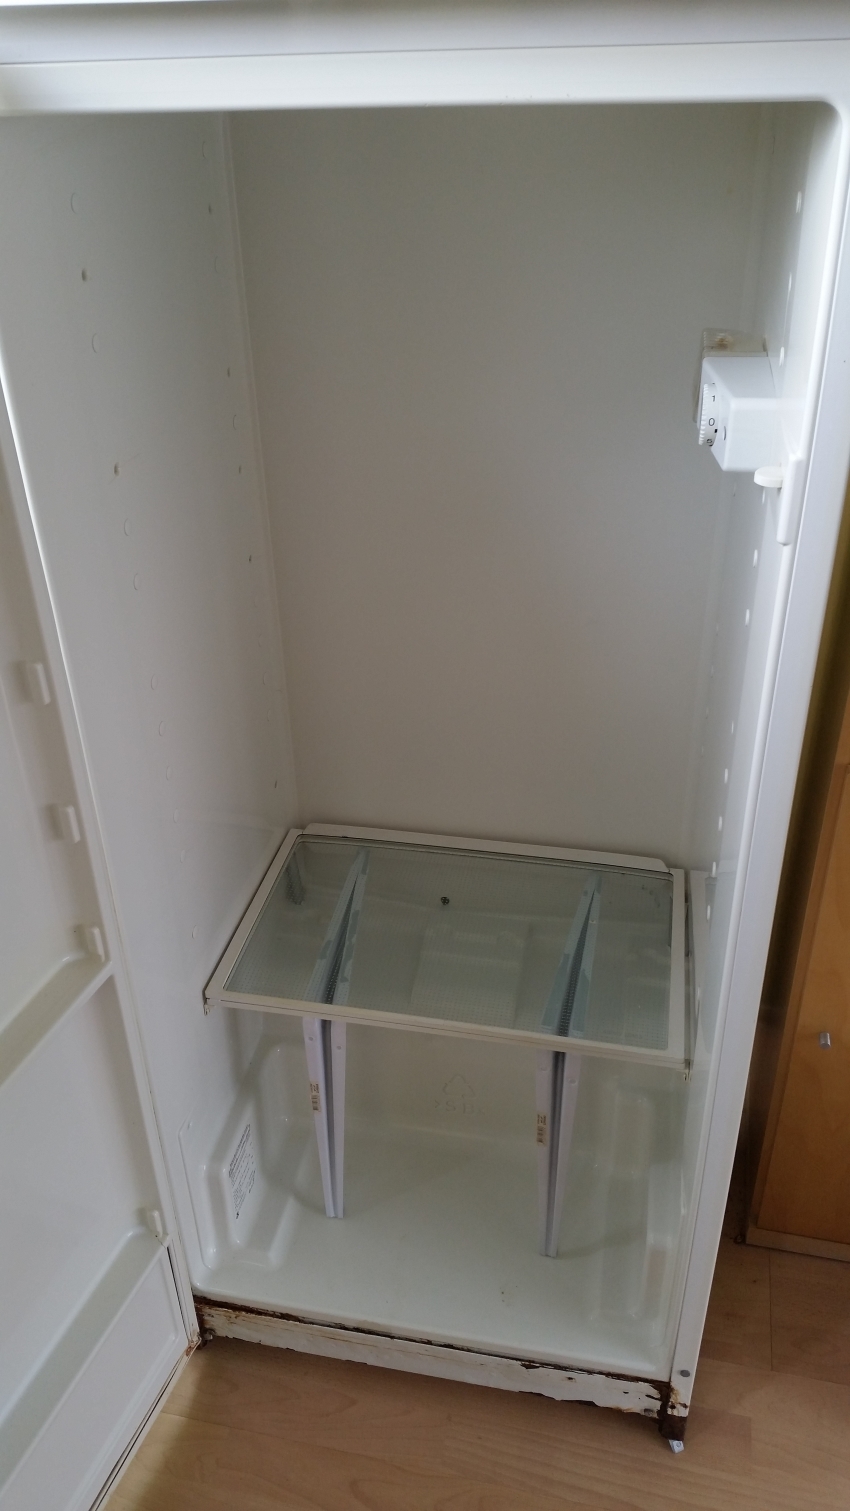
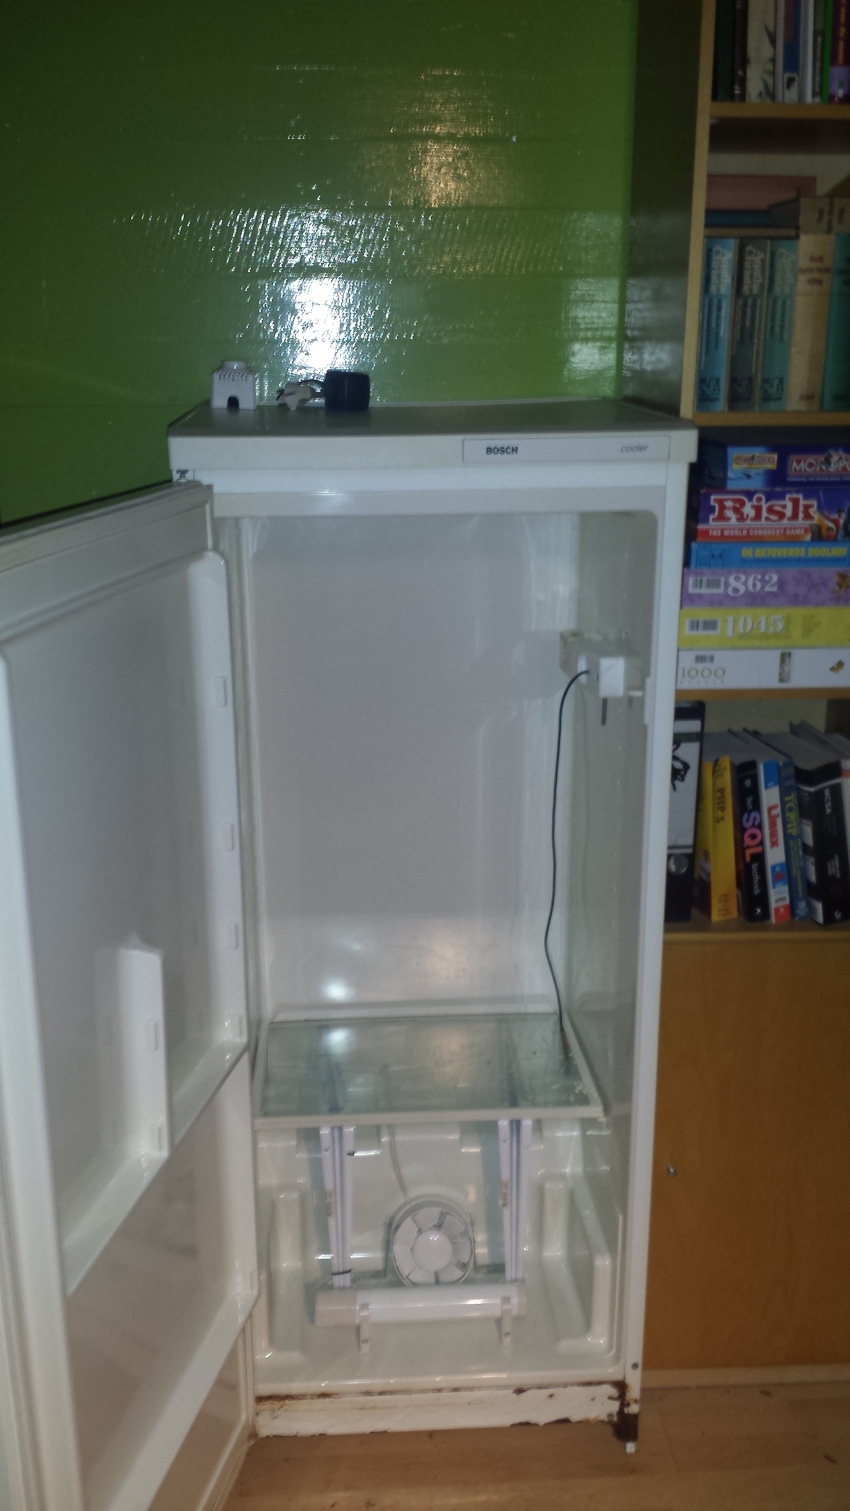
We built a plateau out of 2 glass plates which we supported with 2 shelves carriers.
This construction could carry a brewing bin of 30L without problems.
Installing heating element.

Installing fan, which will ensure circulation of heat. The speed of this fan is adjustable by a dimmer which is mounted on top of the fridge.

Result heating element.
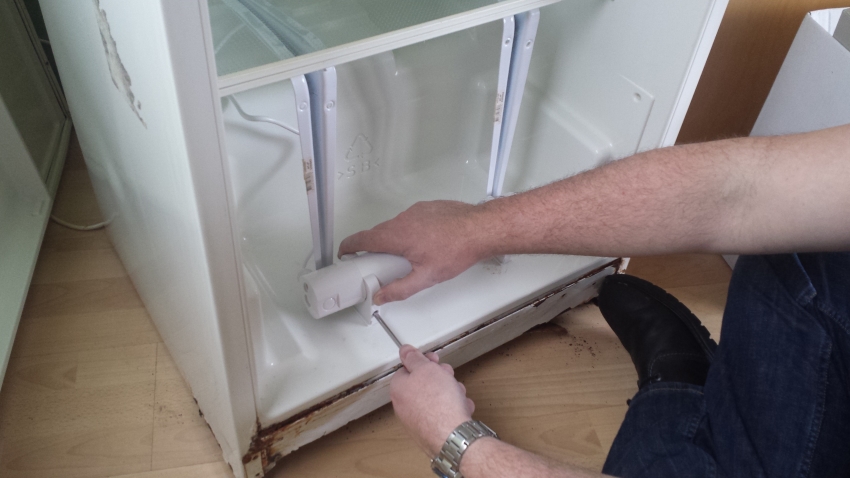
Removed the thermostat of the fridge and installed the sensors of brewpi following the instructions found on brewpi.com.
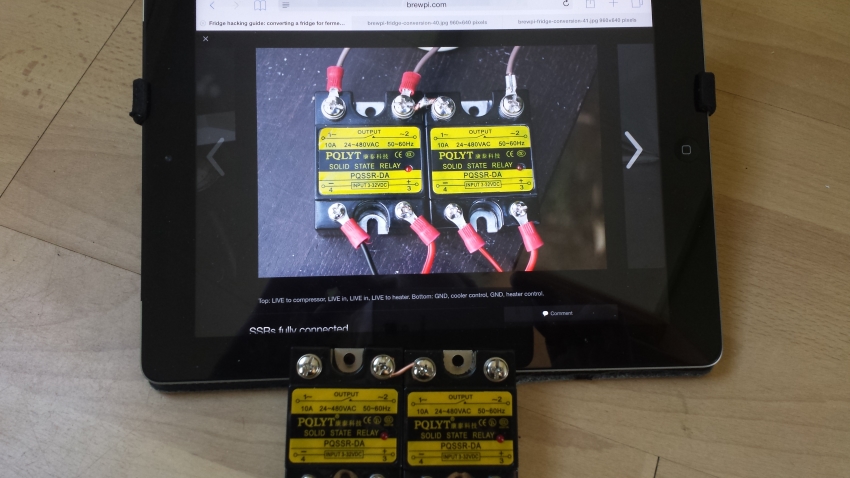
The Solid state relais were prepared. They are for regulating fridge and heating by brewpi
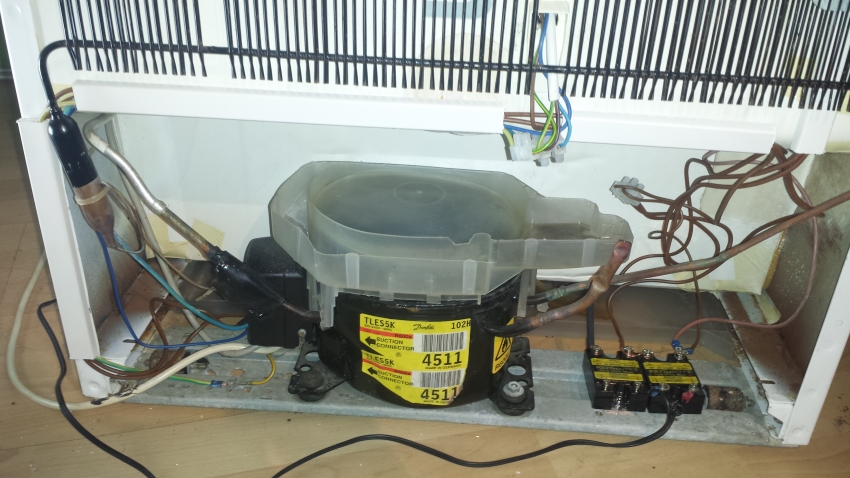
Placed the SSR's on the fridge frame, so they can emit the heat to the steel frame.
Then we connected the fridge's engine and heating element to the SSR's.
Result day 1.

Applied the logo to the fridge.

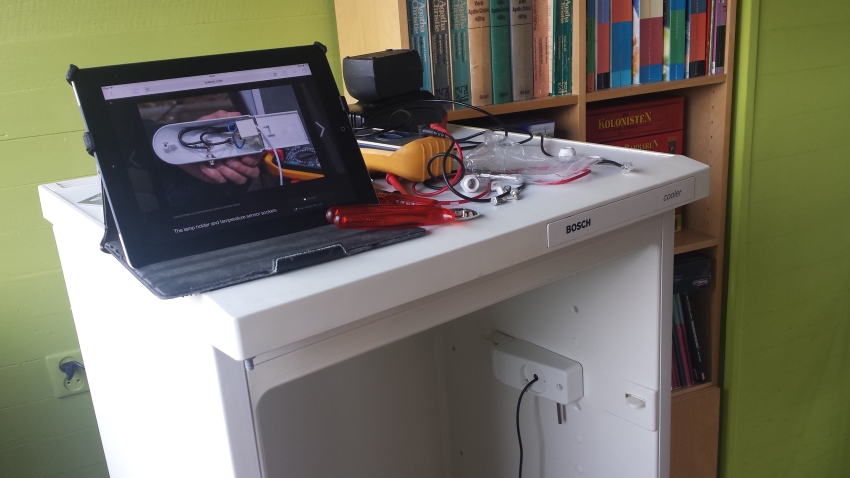
Installed Brewpi.
Tested the sensors and the regulating mechanism of the fridge engine and the heating element.
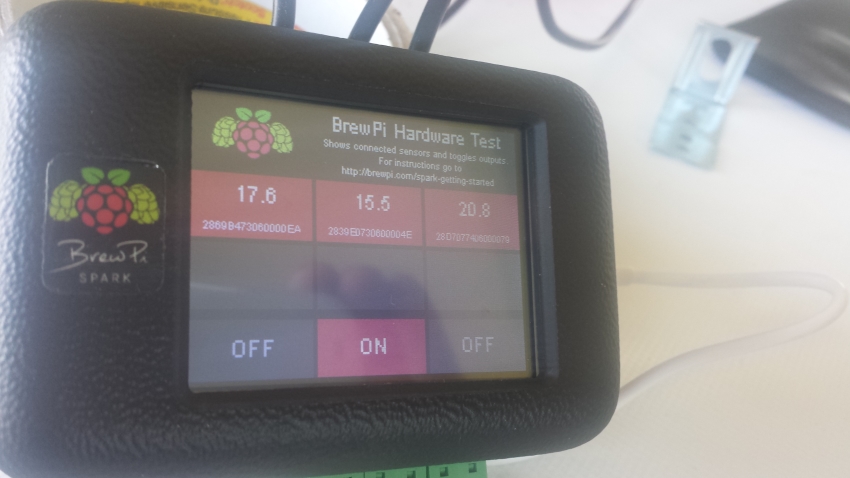
Test successful.

End result.
